Black Friday Exclusive: $2 for 2 Months + 50% Off Any Plan
Black Friday: 50% Off
Test Flow Notifications
Test flow notifications in CheckView ensure you stay informed about your website’s performance by sending alerts every time a test runs. By default, notifications are sent after every test pass or failure, but these settings can be customized at the organization level or the individual test flow level, offering flexibility in how and when you receive updates.
When a test flow is created, it defaults to using the global organization settings for notifications. Notifications can be customized globally at the Organization Settings level or overridden for specific test flows at the Test Flow Settings level.
Notification Channels
CheckView supports three notification channels:
- Email: Send test result notifications to one or more email addresses. Configurable at the organization, test flow, and form URL levels.
- Slack: Send notifications directly to a Slack channel. Connect your Slack workspace in Organization Settings > Integrations to get started.
- Webhook: Send test result data to a custom URL endpoint. Useful for integrating with external monitoring tools, dashboards, or automation workflows.
Email Notification Options
Under the Test Flow Notifications section, you can configure the following email settings:
- Enabled: Yes/No to enable or disable test flow notifications.
- Email Addresses: Specify one or more email addresses to receive notifications, separated by commas.
- Frequency: Choose when notifications should be triggered:
- Send every time a test fails or passes (default).
- Send once if a test fails, then once it passes again.
- Send every time a test fails, then once it passes again.
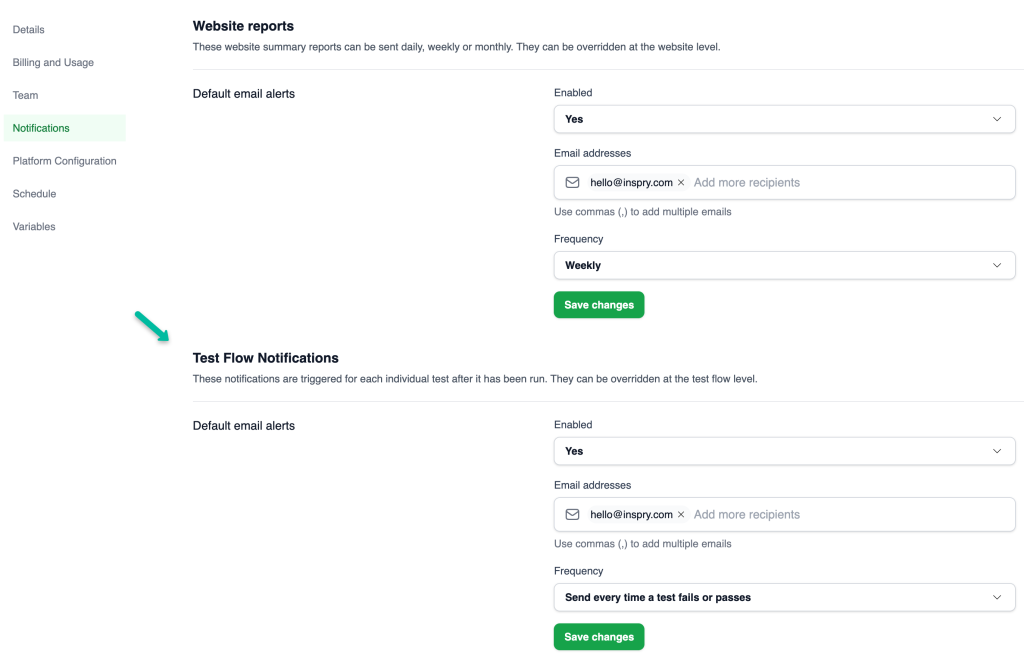
Steps to Configure Organization-Level Notifications
- Go to Organization Settings.
- Click on the Notifications menu item.
- Navigate to the Test Flow Notifications section.
- Update the following settings as needed Email Notifications area:
- Enabled: Choose whether to enable or disable notifications globally.
- Email Addresses: Enter email addresses for recipients.
- Frequency: Select how often notifications should be sent.
- Save your changes.
Pro Tip: Use organization-level settings to maintain consistency across all test flows, especially if managing multiple websites or clients with uniform notification requirements.
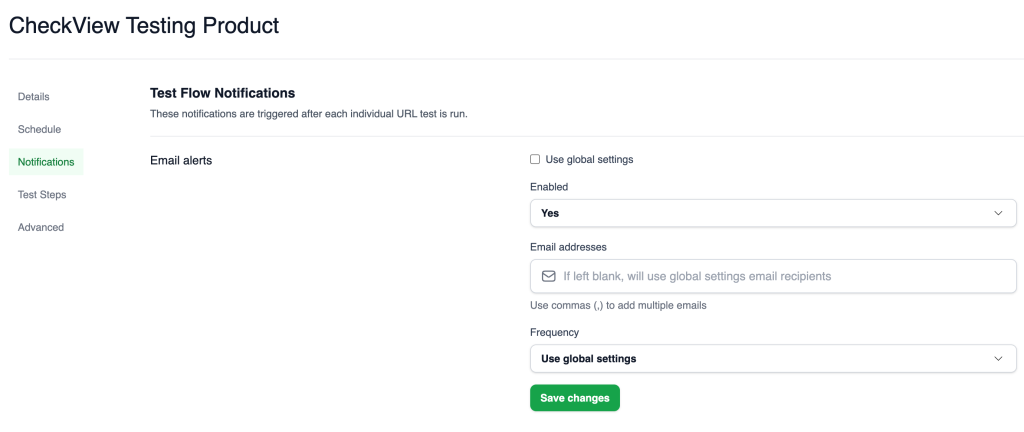
Steps to Configure Test Flow-Level Notifications
- Open the desired Test Flow from your website dashboard.
- Click on the Settings gear icon.
- Click on the Notifications menu item.
- Go to the Test Flow Settings tab.
- Update the following settings as needed in the Email Notifications area:
- Enabled: Choose whether to enable or disable notifications for this test flow.
- Email Addresses: Enter specific email addresses for this test flow.
- Frequency: Select how often notifications should be sent.
- Save your changes.
Use Case Examples
- A client-specific test flow: Add the client’s email address to ensure they receive notifications for their test flow only.
- A critical test flow: Increase notification frequency to monitor issues more closely (e.g., “Send every time a test fails or passes”).
- Slack integration: Connect your Slack workspace to receive instant notifications in a dedicated channel for your team.
- Webhook integration: Send test results to an external dashboard or trigger custom automation workflows.