Black Friday Exclusive: $2 for 2 Months + 50% Off Any Plan
Black Friday: 50% Off
Website Reports
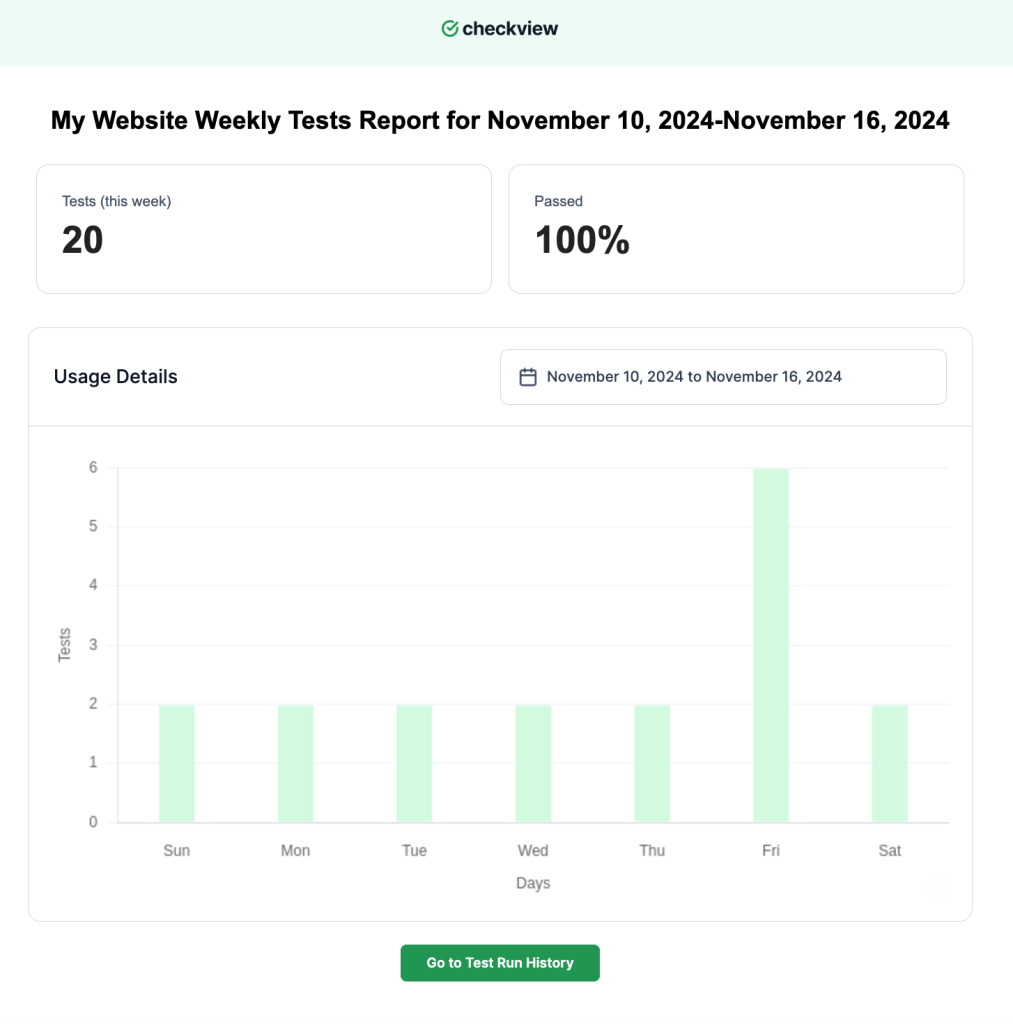
Website reports in CheckView provide a summary of all tests run on a specific website over a chosen time period. These reports are designed to help you monitor the performance of your automated tests, visualize successes and failures, and identify trends or areas requiring attention. Delivered via email, website reports are available on a daily, weekly, or monthly basis, depending on your configuration. You can customize the reports as a per site level or at the organization-level, allowing you to send monthly reports to specific email addresses, perfect for sending to clients or specific website stakeholders.
Each website report provides:
- Total number of tests executed during the selected period.
- Breakdown of tests that passed versus failed.
- A graphical representation of test outcomes (e.g., a bar or pie chart) to quickly visualize pass and fail trends.
You can configure website reports to be sent on the following schedules:
- Daily:
- Ideal for high-traffic or mission-critical websites requiring constant monitoring.
- Provides a snapshot of the previous day’s test performance.
- Weekly:
- Suitable for medium-priority sites or those with fewer updates.
- Summarizes the past week’s test results to identify trends or recurring issues.
- Monthly:
- Best for lower-priority sites or as a broader monthly performance overview.
- Captures the entire month’s test activity for a high-level analysis.
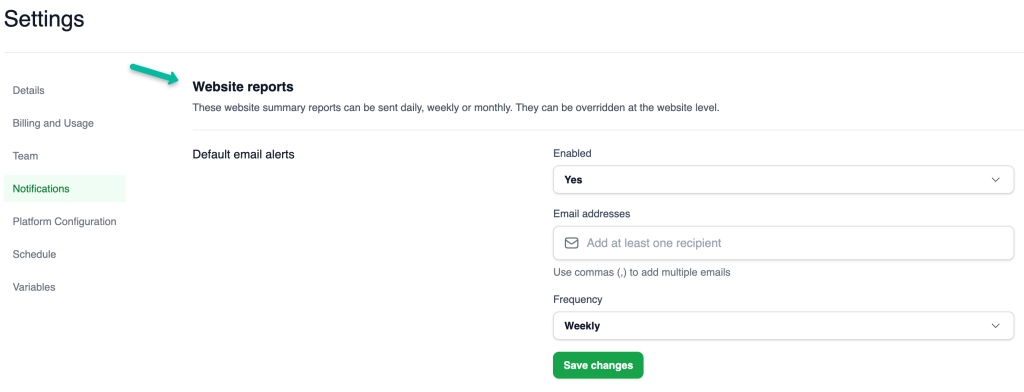
Organization-Level Website Reports
- Go to Organization Settings.
- Click on the Notifications menu item.
- Navigate to the Website reports section.
- Update the following settings as needed Email Notifications area:
- Enabled: Choose whether to enable or disable notifications globally.
- Email Addresses: Enter email addresses for recipients.
- Frequency: Select how often notifications should be sent.
- Save your changes.
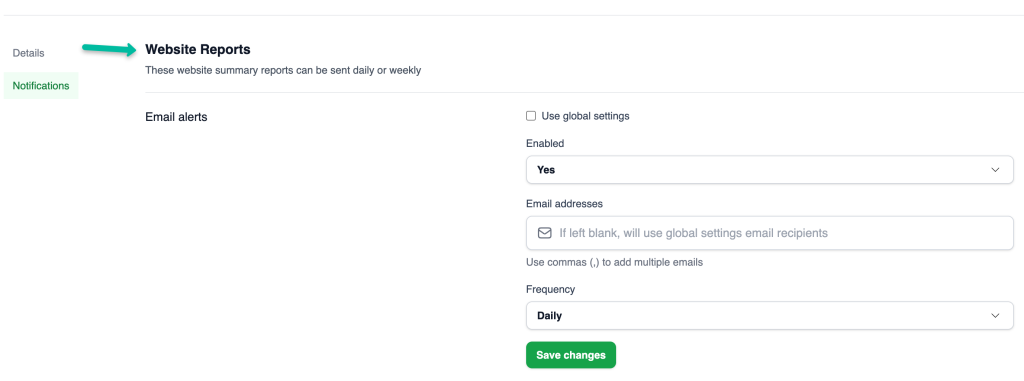
Test Flow-Level Website Reports
- Open the desired Website from your websites dashboard.
- Click on the Settings gear icon.
- Click on the Notifications menu item.
- Go to the Website reports tab.
- Update the following settings as needed in the Email Notifications area:
- Enabled: Choose whether to enable or disable notifications for this test flow.
- Email Addresses: Enter specific email addresses for this test flow.
- Frequency: Select how often notifications should be sent.
- Save your changes.
Additional Notes
- Retention of Reports: Reports are sent via email and not stored within the CheckView dashboard. Ensure you save important reports locally if needed.
- Customization of Content or Branding: Currently, reports summarize all tests for the website. Additional customization (e.g., filtering specific test flows) along with white-label branding is under review for future updates.
- Report Delivery Times: Reports are generated based on the test flow schedule and your account’s time zone. Delivery may vary slightly due to platform load.