Published August 5, 2025
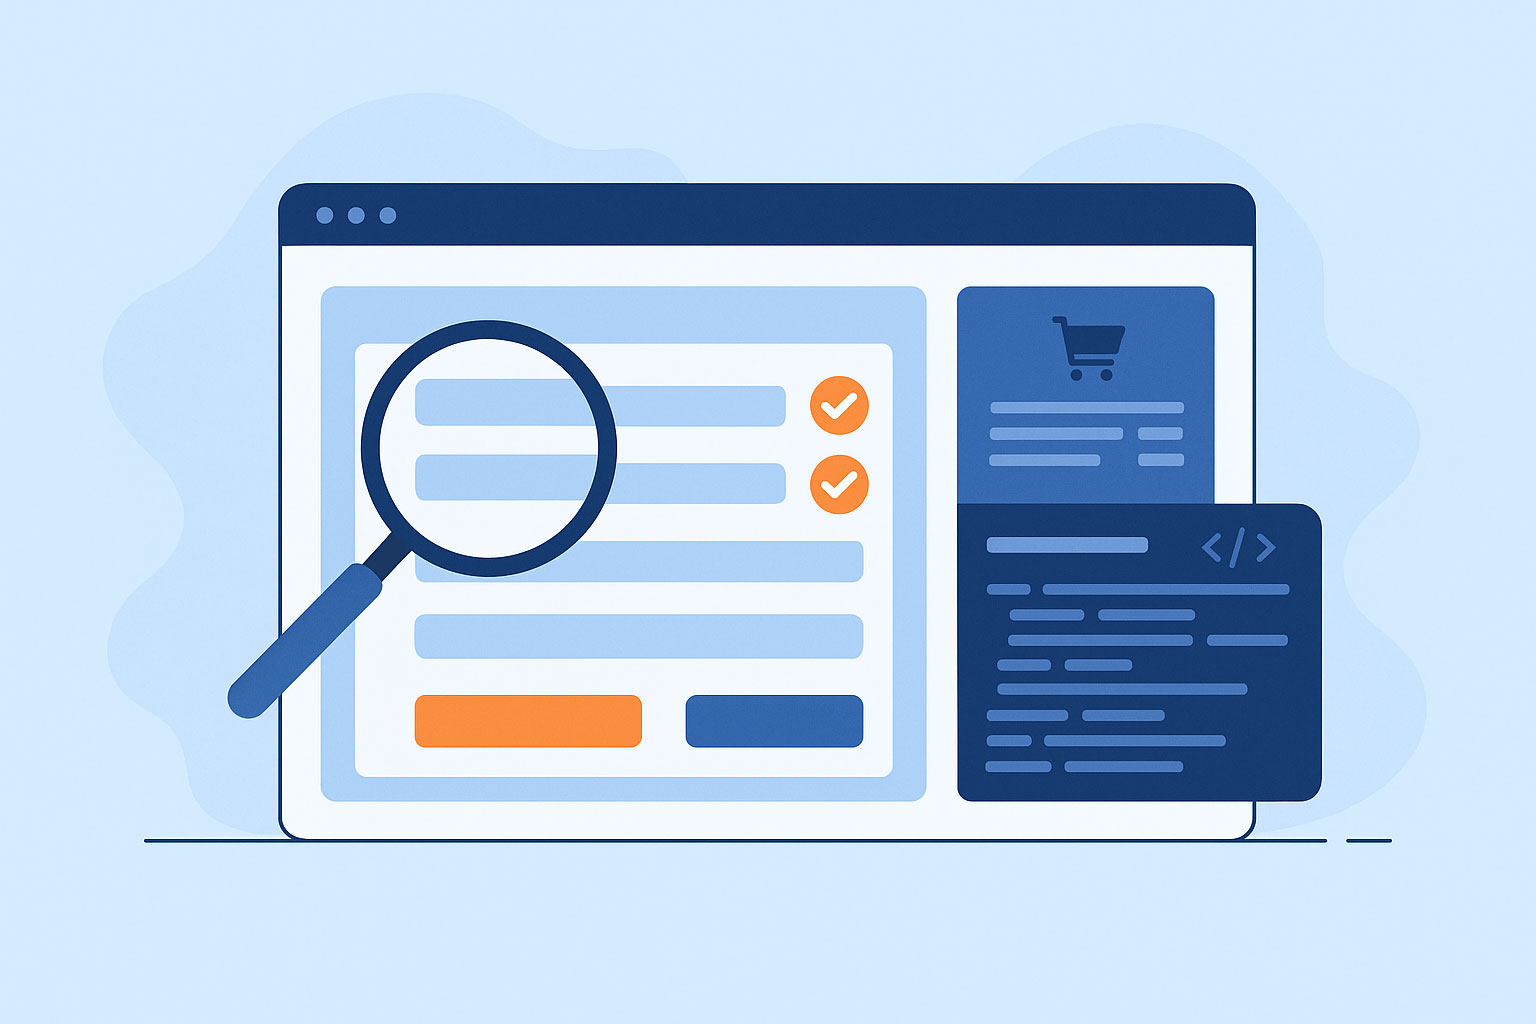
Testing WooCommerce Checkout Manually
The checkout process is the single most critical part of your WooCommerce store. If customers can’t complete their purchase, it doesn’t matter how great your products are or how well you’ve designed your site, you’ll lose sales and, potentially, customer trust forever.
That’s why regularly testing your WooCommerce checkout is essential. While automated testing solutions like CheckView can save time and reduce human error, you can still manually test your Woo checkout when necessary, both for troubleshooting and for understanding what your customers experience.
Why Manual Checkout Testing Matters
Even with the best automation (CheckView perhaps?), manual testing serves important purposes:
- Catching edge cases automation may not cover
- Experiencing the exact UX flow your customers see yourself
- Testing third-party integrations like payment gateways, tax calculators, and shipping providers in real-time
- Quickly verifying fixes after changes to your site
Manual testing is not a replacement for automation, but it’s an essential part of a healthy quality assurance process.
Preparing for Manual Woo Checkout Testing
Before you start clicking through checkout, take a few minutes to set yourself up for success.
1. Use a Staging or Test Environment
Note: Never run live transactions on your production site unless you’re specifically testing live payment flow and even then, use very small amounts like $1.00 and make sure your shipping department / operations knows so any physical products don’t get shipped out. Instead you should:
- Clone your live site to a staging server (ideally with a managed WooCommerce site like Pressable who offers 1-click staging)
- Ensure the staging environment mirrors your plugins, theme, and settings
2. Enable Payment Gateway Test/Sandbox Mode
Most gateways like Stripe, PayPal, WooPayments, Authorize.Net, and Square offer a test mode where you can use dummy card numbers without charging real money.
- Stripe: Use card 4242 4242 4242 4242 with any future expiration date
- PayPal: Use sandbox accounts from developer.paypal.com
- Authorize.Net: Use test credentials from your Authorize.Net developer account
This is the ideal way to test your site in most cases as the test payment gateway API has been designed to fundamentally work exactly as the live payment gateway API. This hasn’t failed me yet.
3. Clear Cache & Disable Unnecessary Optimizations
Caching plugins, CDN caching, and aggressive JS/CSS optimization can interfere with checkout testing. Clear or temporarily disable these to avoid false positives.
4. Ensure WooCommerce Subscriptions is in Staging Mode
If your site uses Woo Subscriptions, it should automatically go into staging mode once the plugin detects the cloned staging site uses a different URL than your production site. If it doesn’t, read this guide. This is critical, otherwise real customers may receive subscription emails, depending on their billing cycle, even if the staging site is using test payment gateways.
Now the Step-by-Step Manual Woo Checkout Testing Process
Step 1: Add Products to Cart
Your testing should cover:
- Adding from product pages (single product)
- Adding from shop/category pages
- Adding from upsell or cross-sell sections
What to check:
- Product is added successfully
- Cart count updates in the header
- Correct variation/options appear in cart
- Test a mix of your most popular products from a variety of product types, ie. simple, variations, bundles, etc.
Step 2: Review Cart Page
Click on your cart menu item or icon and verify:
- Product name, image, price, any products add-ons or attributes and quantity are correct
- Quantity updates recalculate totals correctly
- Coupons apply correctly (percentage, fixed amount, free shipping)
- Shipping calculations update based on address or location input (if applicable)
- “Proceed to Checkout” button works
Step 3: Checkout Page Load
On /checkout/, check:
- All form fields load without errors
- Required fields are marked as required
- No broken styling or layout issues
- Shipping and billing sections appear as expected based on cart contents
- Review all applicable payment gateways and shipping methods appear
Step 4: Test Different Customer Scenarios
You’ll want to cover guest checkout and logged-in checkout:
- Guest Checkout
- No account creation
- Enter billing/shipping details manually
- Account Checkout
- Logged in with existing account
- Logged in with saved addresses
- New account creation during checkout
Step 5: Shipping Method Selection
If you offer multiple shipping methods:
- Ensure correct rates appear based on entered address
- Switch between methods and confirm totals update instantly
- Test edge cases, ie. free shipping threshold, local pickup
Step 6: Payment Method Testing
Test every payment option you offer:
- Credit Card Gateway (e.g., Stripe)
- Use gateway’s test card numbers
- Test both valid and intentionally invalid cards
- Test 3D Secure if enabled
- PayPal
- Use sandbox accounts for buyer and seller
- Confirm redirect flow works and returns to the correct thank-you page
- Offline Payments (e.g., Bank Transfer)
- Ensure instructions appear after placing order
- Confirm order status updates to “On hold” or as configured
- Buy Now Pay Later (e.g., Klarna, Affirm)
- Follow test mode setup instructions
- Ensure checkout flow completes without error
Check that:
- Order confirmation appears
- Order details match what was in the cart
- Payment status is correct (Processing, Completed, etc.)
- If applicable, upsell or post-purchase offers display correctly
Step 8: Email Notifications
Confirm the following emails are sent and look correct:
- Customer order confirmation
- Admin new order notification
- Any payment confirmation emails from gateways
Check for:
- Correct formatting
- Dynamic data (order number, items, totals) populated correctly
- No missing images or broken links
Step 9: Order Management in Admin
In WooCommerce → Orders:
- Ensure new order appears with correct status
- Verify payment notes in order timeline
- Check that customer details are correct
Advanced Manual Testing Scenarios
Once you’ve covered the basics, go deeper:
1. Coupon & Discount Combinations
- Multiple coupons applied together
- Automatic discounts triggered by cart value or quantity
2. Tax Calculations
- Addresses in taxable vs. non-taxable zones
- Product-specific tax classes
3. Shipping Edge Cases
- Address not serviced by certain carriers
- Oversized or restricted products
4. Checkout Custom Fields
- Custom checkout fields display correctly
- Data saves to order meta
Common WooCommerce Checkout Issues Found in Manual Testing
From our work at CheckView, here are frequent problems you might uncover:
- JavaScript or PHP errors from theme or plugins breaking payment scripts
- Caching conflicts causing stale cart/checkout data
- Gateway misconfigurations (wrong API keys, missing webhooks)
- CSS conflicts making fields invisible in dark mode themes
- Missing required fields preventing checkout completion
Documenting Your Test Results
Don’t just “click around”, document your findings:
- Test scenario
- Steps taken
- Expected result
- Actual result
- Screenshots or screen recordings
- Notes on how to reproduce
Tools like Loom or browser dev tools’ “full-page screenshot” help here.
How Often Should You Test Manually?
At a minimum:
- Before launching your store
- After installing or updating major plugins/themes
- After major WooCommerce core updates
- Before peak sales periods (Black Friday, seasonal events)
When to Move From Manual to Automated WooCommerce Testing
Manual testing is time-consuming. As your store grows:
- Automate repeatable checkout flows with a tool like CheckView
- Keep manual testing for UI/UX evaluation and edge cases
- Use automation for regression testing across multiple devices and browsers
Final Thoughts
Testing your Woo checkout manually is an investment in your store’s revenue and customer trust. While automation will save you hours in the long run, knowing how to manually replicate the customer journey ensures you can catch subtle issues, understand their cause, and confirm that fixes truly work.
If you’re ready to streamline the process, CheckView can automate these tests, running them daily and alerting you instantly when something breaks. But even then, keep this guide handy for those moments when only a hands-on test will do.