
How to Automatically Test WS Form
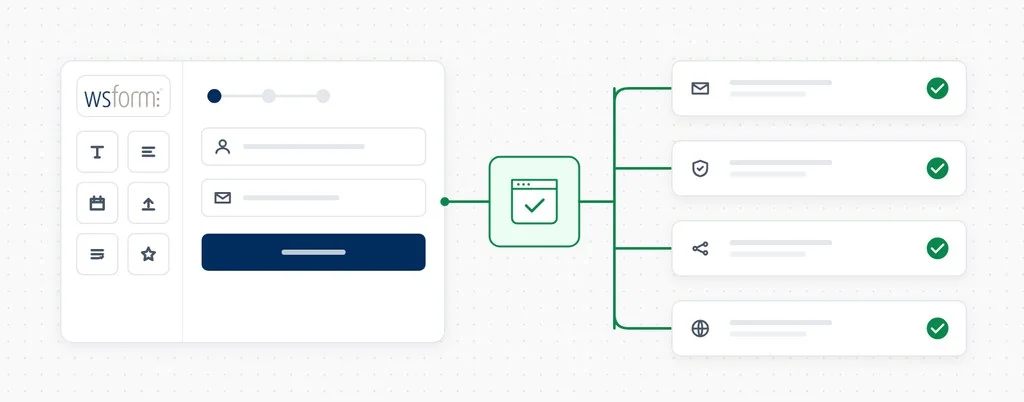
WS Form is built for people who like control. Fields, conditional logic, calculations and multi-step tabs are all configured in its builder, and what happens after someone presses submit is an ordered list of actions you choose yourself: save the submission, send an email, show a message, call a webhook, push the contact to a CRM or a mailing list.
That design has a side effect worth knowing about. A WS Form form is not simply sitting in your page’s HTML waiting to be read. WS Form’s JavaScript builds it in the visitor’s browser after the page loads. When the visitor submits, the entry goes to the WordPress REST API rather than posting the page back to itself. So the usual quick checks prove very little. An uptime monitor sees the page load, and a glance at the page source shows little more. Neither tells you whether the form actually rendered, whether it accepted an entry, or whether the actions behind it did their jobs.
And those actions are where most of the risk lives. Your form hands each entry on to other systems: the mail provider behind the Send Email action, the DNS records that decide whether that email is trusted, the webhook or CRM on the other end of an action, and whichever spam protection sits in front of the whole thing. Each is configured separately, each has its own credentials, and each can change without WS Form knowing anything about it.
That is the case for automated testing. CheckView opens your page in a real browser, waits for WS Form to finish rendering, fills the form in, submits it and confirms the entry made it through, on whatever schedule you set.
What a scheduled form test actually verifies
It is rarely the form builder that fails. The breakages that stop entries reaching you tend to come from the services around it:
The email never arrives. An SMTP or transactional email plugin loses its API key, someone tidies up DNS and removes an SPF or DKIM record, or the sending service starts routing notifications to spam. The submission succeeds on screen, the confirmation message appears, and nobody is told.
Spam protection starts blocking people. A reCAPTCHA or Turnstile key is regenerated in one place and not the other, or a newly added security plugin decides that ordinary visitors look like bots. The form still looks normal. It just stops accepting anyone.
The page changes around the form. A script optimization plugin, a theme update or a new plugin changes how JavaScript loads. For a form that is built entirely by JavaScript, that can mean fields that never appear, a date picker that will not open, or a Next button on a multi-step form that does nothing.
A scheduled test runs through all of it as a visitor would, and tells you the same day when something in the chain stops working.
What CheckView does on a WS Form test
Point CheckView at a WS Form form and it takes care of the details:
- Automatic test generation. CheckView finds your published WS Form forms and the pages they are embedded on, whether you used the WS Form block, the shortcode or a synced pattern, then builds the steps for you. It waits for WS Form to render the form before it starts. Both the free WS Form and WS Form PRO are covered.
- Real submissions, no real emails. The recipients of your Send Email action are swapped for the CheckView test inbox for the duration of the run, and CC and BCC recipients are removed. Your team and your clients never see a test entry.
- CAPTCHA handled cleanly. WS Form’s own reCAPTCHA, hCaptcha and Cloudflare Turnstile fields are removed for the CheckView test session only, and its honeypot and Akismet check are skipped the same way. CheckView also handles CleanTalk, hCaptcha for WordPress, Simple Cloudflare Turnstile and WP Armour. Every real visitor still meets your full protection.
- Actions under control. With Disable Form Integrations During Tests turned on, a test submission runs only Save Submission, Show Message and Send Email. Webhooks, CRM and marketing actions stay quiet, so test entries do not end up in your connected tools.
- Verified, then cleaned up. The submission is checked field by field against the values the test entered, then deleted from WS Form’s submissions so your real entries stay clean.
- The richer field types. WS Form’s date picker works in its pop-up and inline styles for date, date and time, time, month and week fields, and CheckView respects the limits you set, such as a date range, excluded weekdays or office hours only. Multi-step tabs are navigated with the form’s own Next buttons. International phone fields, Select2 dropdowns, the rich text editor and file uploads are handled too, and fields that appear as the form is filled in are picked up as they appear.
Setting it up
WS Form works the same way as every other supported form plugin in CheckView.
- Install the CheckView helper plugin on your site and keep it up to date.
- Make sure the form is published in WS Form and embedded on a page with the WS Form block or shortcode.
- In your CheckView dashboard, open the website and click Add Test Flow.
- Choose WS Form (listed as WSForms), then pick the form and the URL it appears on.
- Set a schedule. Daily is the usual choice for a main contact, booking or quote form.
CheckView builds the steps and runs an initial test straight away, so you know the form is being monitored properly from the start. Whenever you want to see a run for yourself, trigger one manually and CheckView records the full submission for you to watch back.
Practical tips for WS Form tests
A few things follow from how WS Form is put together.
Publish before you look for it. WS Form forms carry a status, and CheckView lists only the published ones. If a form you just built is missing from the list, publish it in WS Form and check again.
Embed with the block or shortcode. CheckView finds a form’s page by looking for the WS Form block or shortcode in the page content. A form placed through a page builder widget, a theme template or custom PHP may not be matched to its page. Switching to the block or shortcode fixes that, or you can monitor the page with a custom test flow.
Decide which actions you want to prove. Keeping integrations disabled is the safe default, and it still proves the part most people care about: the form saved the entry and the email arrived. If a webhook or CRM action matters just as much, turn the setting off for that one flow so every action runs, ideally with the receiving system ready to recognize test contacts.
Expect dates from the end of the range. CheckView chooses the latest date and time your picker allows, skipping any dates the form disables. That keeps the test valid for as long as it runs, but test entries will show dates at the far end of the range rather than the current date.
Phone numbers use a US dialing code. International phone fields are filled with a +1 number, and the field selects the country from it. If your form only accepts numbers from particular countries, keep that in mind when you read a failed run.
Watch the multi-step forms most closely. Tabs and conditional sections depend on WS Form’s JavaScript running as intended. They are exactly what a script optimization setting or a plugin conflict breaks first, and exactly what a scheduled test catches before a visitor does.
Happy Testing!